
Original English clip
English source video from the approved sample.
ENGLISH VIDEO TO HINDI TRANSLATOR
Prepare an English training, product, or support video for Hindi-speaking viewers. Start with the existing recording, choose Hindi for the audience, then review the words viewers will read and hear before export.
MP4, MOV, and WebM up to 1 GB. Standard translation supports videos up to 8 minutes 20 seconds.
HOW TO TRANSLATE AN ENGLISH VIDEO TO HINDI
The goal is not only to replace words. It is to prepare a Hindi version that makes sense for the people who will watch it.
01
Add an MP4, MOV, or WebM file. The workspace checks the spoken audio from the uploaded video before translation.
02
Choose Hindi as the output language for the people who will watch the localized version.
03
Check product names, URLs, model numbers, prices, units, and English terms that need to stay recognizable in context.
04
Generate Hindi subtitles and translated audio, then export when the wording and subtitle timing are ready to share.
A PRACTICAL USE CASE
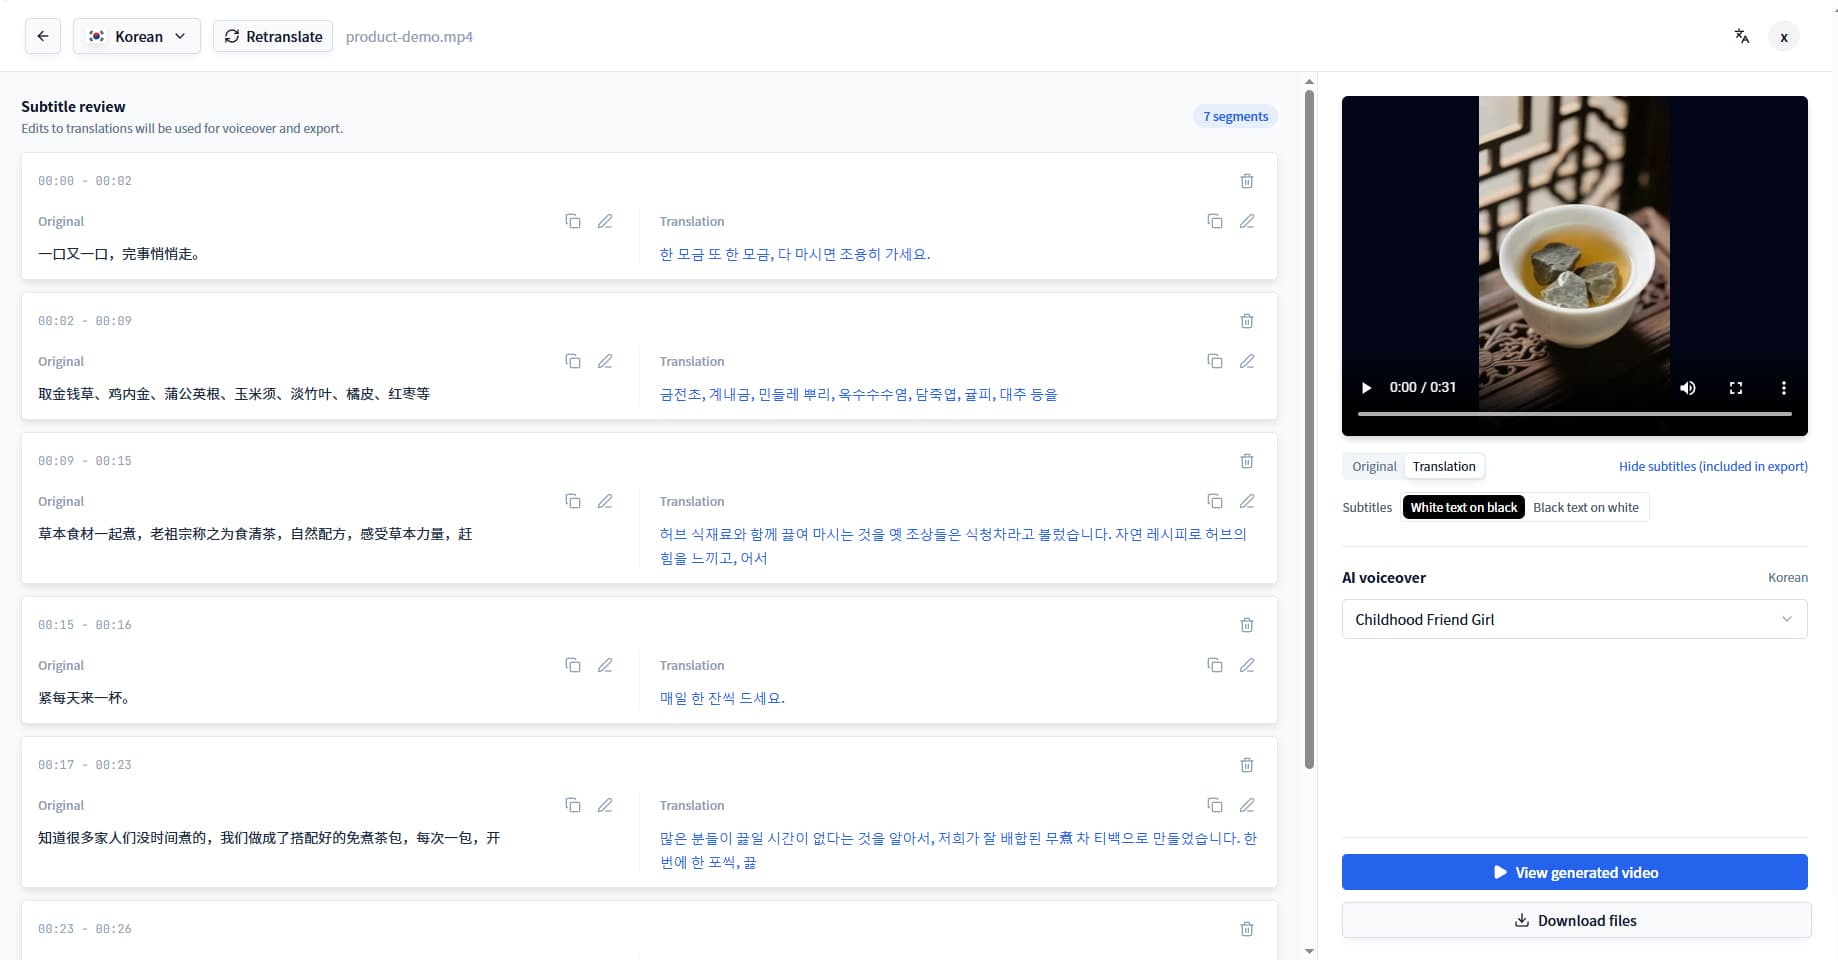
For an onboarding video or feature walkthrough, preserve product labels and URLs that viewers must recognize, while reviewing the Hindi wording around them. The same project keeps the transcript, Hindi subtitles, translated audio, and export work together.
RESULT COMPARISON
This approved sample places the English source beside the Hindi version of the same clip.
English source video from the approved sample.
Hindi version of the same approved sample.
Same-content bilingual comparison
This comparison uses the same clip in English and Hindi. Play either version to review the spoken language and timing.
REVIEW BEFORE EXPORT
Use these checks while you review the translated text and subtitles. They are decisions for the person publishing the video, not automatic language rules.
Viewers may need to recognize an exact product label, link, or model reference while following an instructional video.
Review step: Review these terms in the translated text before generating audio or exporting subtitles.
Some audience-facing terms may be clearer when they remain recognizable alongside Hindi wording.
Review step: Decide how each important term should appear while reviewing the Hindi translation in context.
A small error in a number, date, button name, or instruction can make a product walkthrough difficult to follow.
Review step: Compare these details with the original recording before export.
Subtitles need enough time on screen for viewers to read while they follow the product demonstration.
Review step: Play the video with the Hindi subtitles visible and adjust the lines that need another pass.
Standard dubbing works well for tutorials, product demos, screen recordings, and videos where the speaker is not continuously on camera. It translates the speech without changing the original visual content or lip movements.
Learn about AI video dubbingFor interviews, presentations, and talking-head video, lip sync can align visible speech with the new language. Review both the translated wording and the video delivery before publishing.
Learn about lip sync translationRELATED WORKFLOWS
FILES, LIMITS, AND OUTPUTS
MP4, MOV, or WebM up to 1 GB per file.
Videos up to 8 minutes 20 seconds.
Videos up to 8 minutes.
Localized video plus subtitle and content exports including SRT and VTT.
ENGLISH VIDEO TO HINDI FAQ
Check product names, URLs, model numbers, prices, units, calls to action, and any English term your viewers need to recognize while following the video.
You can review the Hindi translation before export and check the important terms in context. The page does not assume an automatic transliteration or terminology policy.
Yes. Review subtitle timing and line breaks alongside the original video before you create the final export.
Standard dubbing is usually the practical choice for screen recordings, tutorials, and product walkthroughs where the speaker is not continuously visible. Use lip sync when visible delivery is central to the video.
You can upload MP4, MOV, and WebM video files up to 1 GB.
Video processing uses credits. Review the estimated charge in the product before processing begins, and see pricing for the available plans and credit options.
Start the project, review the translation, and export when it is ready to share.